![Scaling MLOps Engineering: Video Insights [Video]](https://i1.wp.com/www.oreilly.com/library/cover/9781617297762VE/1200w630h/?w=768&resize=768,0&ssl=1 "Scaling MLOps Engineering: Video Insights [Video]")
In this step-by-step tutorial, we will guide you through peering your on-premises environment with Azure VMware Solution (AVS) using Azure ExpressRoute. This enables low-latency, secure connectivity between your on-premises data center and AVS for hybrid cloud deployments.
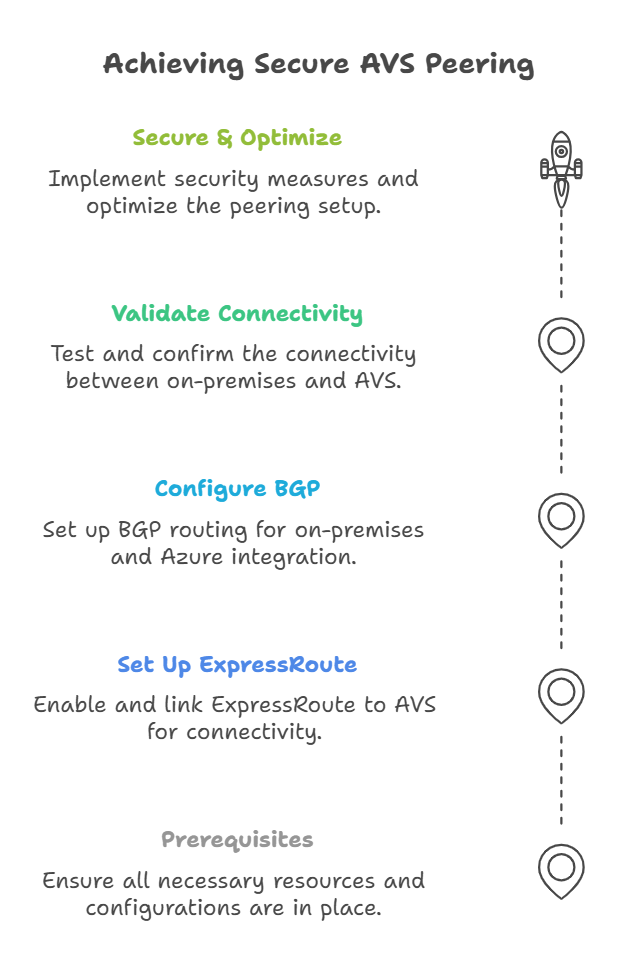
Step 1: Prerequisites
Before setting up on-premises peering with AVS, ensure you have:
✅ An Azure Subscription with required permissions
✅ An existing Azure VMware Solution (AVS) Private Cloud
✅ A configured ExpressRoute Gateway in Azure
✅ An on-premises network with ExpressRoute connectivity
✅ BGP Configuration details (for routing between on-prem and Azure)
Step 2: Set Up ExpressRoute for AVS
1. Enable ExpressRoute for AVS
- Go to Azure Portal → Navigate to Azure VMware Solution.
- Select your AVS Private Cloud.
- Under Connectivity, click Manage ExpressRoute.
- Copy the ExpressRoute Authorization Key (this is required to link your circuit).
2. Create an ExpressRoute Circuit in Azure
- In Azure Portal, search for ExpressRoute.
- Click + Create and provide the following details:
- Subscription: Select your Azure subscription.
- Resource Group: Choose an existing or create a new one.
- Region: Match the AVS region.
- Tier: Choose Standard (or higher for Global Reach).
- Peering Location: Select the nearest peering location to your on-prem data center.
- Bandwidth: Choose an appropriate bandwidth (1 Gbps recommended).
- Click Review + Create, then Create.
3. Link ExpressRoute to AVS
- Once the ExpressRoute circuit is created, navigate to Azure VMware Solution.
- Under Connectivity, click Link ExpressRoute Circuit.
- Paste the Authorization Key and associate it with the ExpressRoute Circuit.
- Click OK to establish the connection.
Step 3: Configure BGP for On-Premises Peering
1. Gather Required BGP Details
- On-Premises ASN (Autonomous System Number)
- Azure ExpressRoute ASN (provided in ExpressRoute circuit settings)
- BGP Peering IPs for primary and secondary links
2. Configure BGP on On-Premises Router
On your on-prem router, run the following commands (Cisco example):
router bgp <YOUR_ASN>
  neighbor <AZURE_BGP_IP> remote-as 12076
  neighbor <AZURE_BGP_IP> description ExpressRoute Primary
  neighbor <AZURE_SECONDARY_BGP_IP> remote-as 12076
  neighbor <AZURE_SECONDARY_BGP_IP> description ExpressRoute Secondary
  network <YOUR_ON_PREM_NETWORK>
exit
Verify the BGP session by running:
show bgp summary
3. Advertise On-Prem Routes to AVS
- In Azure Portal, go to ExpressRoute Circuit.
- Navigate to Peerings → Select Private Peering.
- Add your on-prem subnet range (e.g., 192.168.1.0/24).
- Click Save.
Step 4: Validate Connectivity
1. Test Connectivity from On-Prem to AVS
Run the following command from your on-prem server:
ping <AVS_vCenter_IP>
or
tracert <AVS_vCenter_IP>
Ensure there is low latency and no packet loss.
2. Test vCenter Access
- Open a browser and go to https://<AVS_vCenter_IP>.
- Log in with AVS admin credentials.
- Verify you can see and manage workloads.
Step 5: Secure & Optimize Peering
✅ Enable Network Security Groups (NSGs) for traffic filtering
✅ Monitor ExpressRoute performance using Azure Monitor
✅ Use NSX-T Firewall for workload security
✅ Enable redundancy with ExpressRoute FastPath for improved reliability