


![Scaling MLOps Engineering: Video Insights [Video]](https://i1.wp.com/www.oreilly.com/library/cover/9781617297762VE/1200w630h/?w=768&resize=768,0&ssl=1 "Scaling MLOps Engineering: Video Insights [Video]")
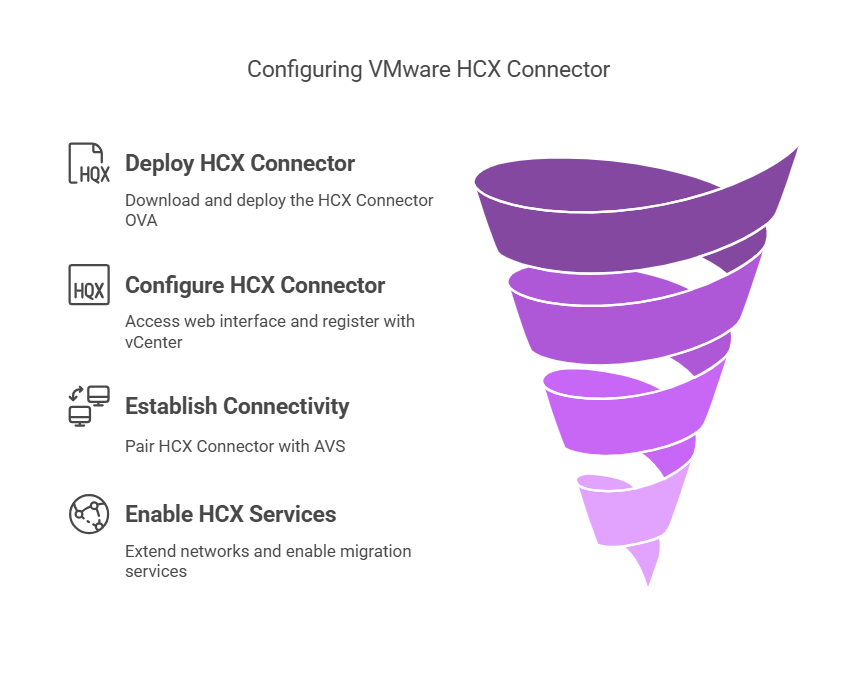
This guide walks you through the installation and configuration of VMware HCX Connector in an on-premises VMware environment, enabling seamless migration to Azure VMware Solution (AVS) or any VMware Cloud environment.
Step 1: Prerequisites
Before configuring the HCX Connector, ensure you have:
- vSphere 6.5 or later in your on-prem environment
- vCenter Server and NSX-T (if applicable) running
- ExpressRoute, VPN, or Direct Connect to AVS (for connectivity)
- HCX License Key (provided by VMware or your cloud provider)
- Access to My VMware to download HCX Connector
Step 2: Deploy VMware HCX Connector OVA
1. Download HCX Connector OVA
- Log in to My VMware.
- Navigate to Products & Downloads → Search for VMware HCX.
- Download the HCX Connector OVA file.
2. Deploy HCX Connector in vCenter
- Open vSphere Client and go to Hosts & Clusters.
- Click Deploy OVF Template.
- Select the HCX Connector OVA file and click Next.
- Provide a name and target cluster for deployment.
- Choose Compute, Storage, and Network settings:
- Assign the HCX appliance to a management network.
- Provide static IP, DNS, and NTP settings.
- Click Finish to deploy the appliance.
- Power on the HCX Connector VM.
Step 3: Configure HCX Connector
1. Access HCX Connector Web Interface
- Open a browser and enter:
https://<HCX_Connector_IP>:9443 - Log in with admin credentials (default:
admin/admin). - Set a new admin password.
2. Register HCX with vCenter
- In the HCX UI, go to Configuration.
- Click vCenter Server Registration.
- Enter:
- vCenter FQDN/IP
- vCenter admin credentials
- NSX Manager details (if applicable)
- Click Register and verify the connection.
3. Activate HCX Connector
- Go to System Updates → Click Activate HCX.
- Enter the HCX License Key.
- Click Activate.
4. Establish Connectivity to AVS
- Navigate to Site Pairing → Click Add Site Pairing.
- Enter the HCX Cloud Manager (AVS HCX) details.
- Click Connect and verify the pairing status.
Step 4: Enable HCX Services
1. Configure HCX Network Extension
- Go to Services → Network Extension.
- Select on-prem networks to extend to AVS.
- Click Extend.
2. Enable HCX Mobility Services
- Go to Migration → Enable HCX vMotion, Bulk Migration, or Replication.
- Configure Mobility Groups for workload migration.
3. Configure Security & Routing
- Ensure firewall rules allow traffic between on-prem and AVS.
- Validate BGP routing for ExpressRoute/VPN connectivity.
Step 5: Validate HCX Connectivity
1. Verify Site Pairing
- Check HCX Manager → Site Pairing Status.
2. Test Migration
- Select a test VM.
- Use HCX vMotion for a live migration to AVS.
- Ensure the VM is running in AVS post-migration.
For more detailed information about the topic. Please check out https://learn.microsoft.com/


